What you'll need:
- Plastic cold drink bottle - cylindrical shape
- Sharp scissors to cut through the plastic
- Double sided scrapbooking tape
- A needle and thread
- Thin batting (wadding)
- Fabric - preferably something that doesn't fray too much
- Scissors for cutting the fabric and batting
- Some sequence and beads for decoration
Here's what you do:
1. Remove the sticker/wrapper from the plastic bottle and
give the bottle a wash.
2. Decide how broad you want your bangle to be. The batting
is going to add some thickness so remember to take this into account.
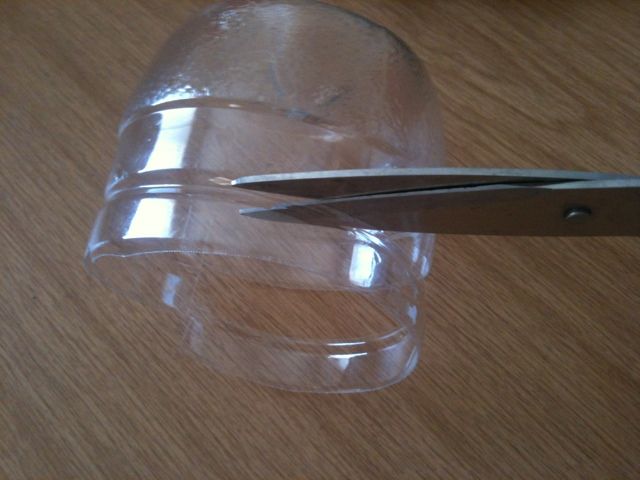
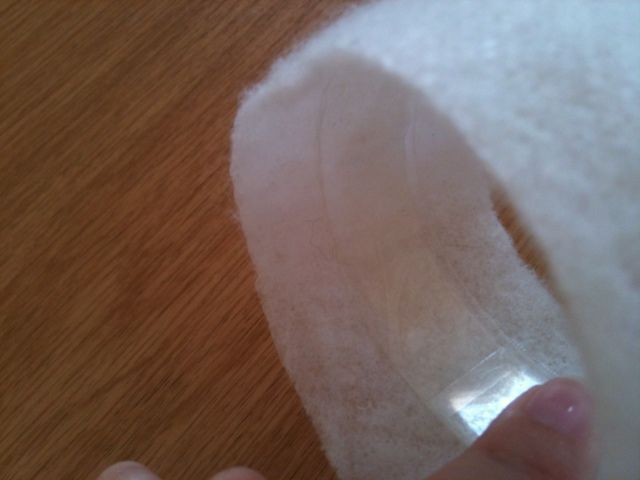
3. Next you are going to cut your bangle.
It's easier
cutting the bottle from the inside - like this:
As opposed to
cutting it from the outside:
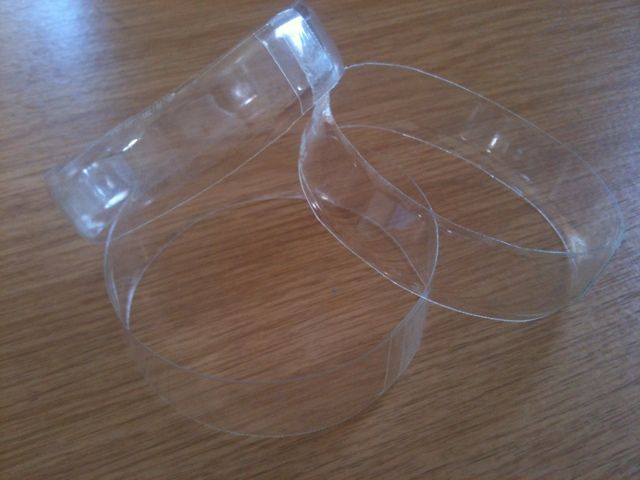
4. You now have a strip of plastic which is going to form
the base of your bangle. Measure it around your wrist making sure that it can
fit over your hand. Make it slightly looser as the batting layer is going to
slightly restrict the size and leave a slight overlap. Using a little piece of
double sided tape - stick the edges together into a bangle shape.
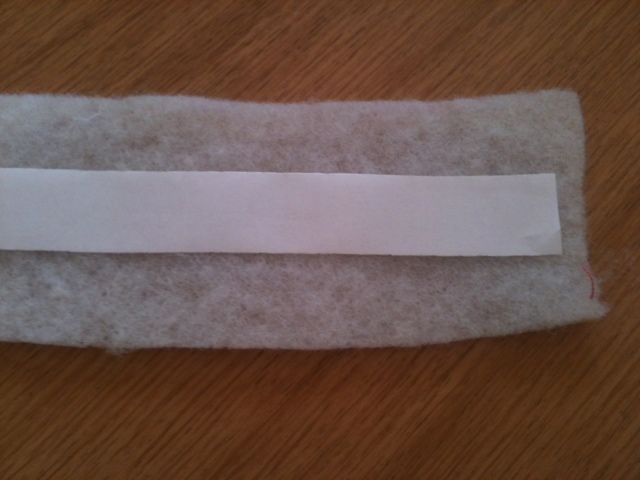
5. Next cut your batting. You need to cut it double the
width of the plastic strip and long enough to fit around the bangle completely.
Run a strip of double sided tape right
down the centre.
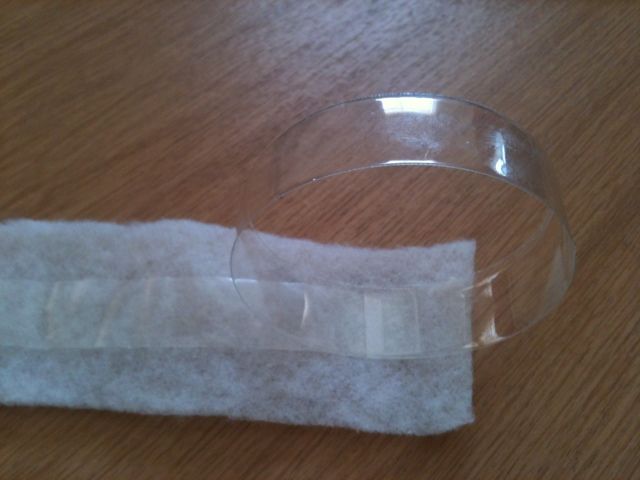
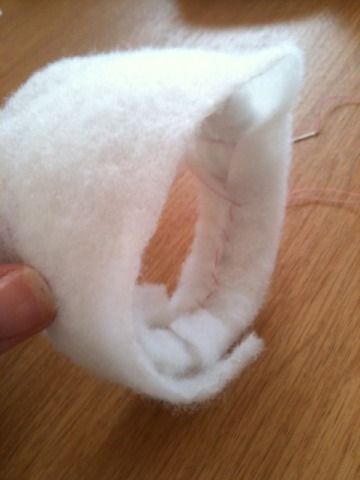
6. Remove the backing paper and stick the batting around the
bangle.
It should now look like this:
7. Now you need to wind some cotton thread around the
bangle to secure the batting in place.
8. Add another layer of batting and repeat step 7.
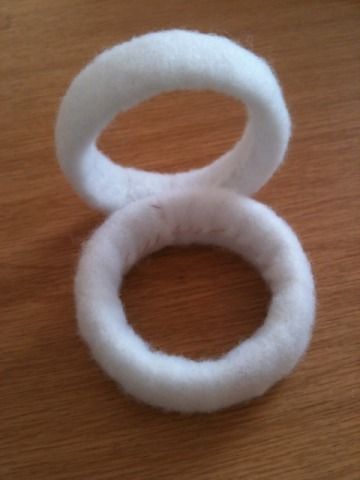
9. We are going to add one more layer of batting to smooth
everything out. This time we are going to sew the batting together instead of
winding cotton thread around it.
It should now look like this:
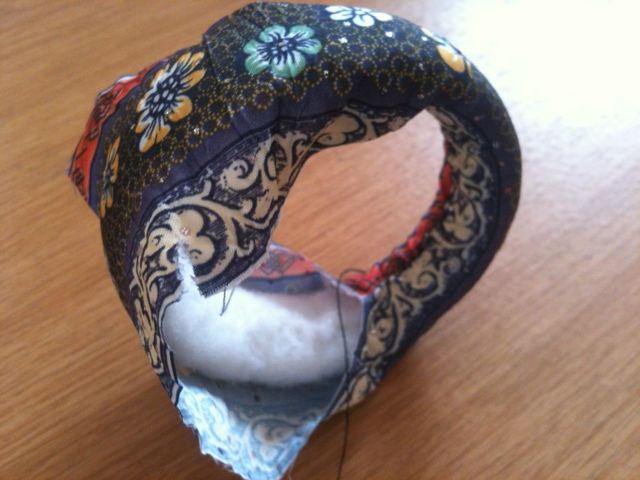
10. Now we are going to add some colour!
Cut a strip of fabric big enough to cover your bangle -
remembering to include a slight overlap. Wrap the fabric around your bangle,
and stitch the short edges together (seam) using invisible ladder stitch.
11. Now for the most difficult part. You need to secure the
fabric to the bangle using overhand stitch. Try and stitch as neatly as you
can.
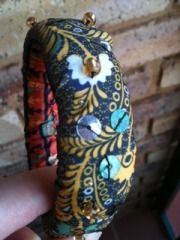
12. You're almost done! Embellish your bangle by sewing some
beads and sequence to it.
Voila!


 I followed this tutorial: http://www.cutoutandkeep.net/projects/tassel-charms-bracelet