Tuesday, April 16, 2013

Butterflies!

Last weekend when we were visiting my sister, I spied some butterflies in the garden. I decided to take some photographs with my i-Phone. A trick I learnt from my husband is to just keep snapping - if you wait for the 'perfect' photo opportunity you'll be disappointed, but the more photos you take the better the chances are that you'll end up with a few GREAT photos.


Friday, April 12, 2013

Tassel Charm Bracelets!

This bracelet was quick and easy to make Wink I followed this tutorial: http://www.cutoutandkeep.net/projects/tassel-charms-bracelet
I made some small tassels using embroidery cotton and then fixed the tassels to the bracelet with jump rings. 


I then came up with the thought that it would be great to mix and match tassels instead of making several different bracelets. I made several more tassels in different colours and attached a lobster clasp to each one, so now I can 'customise' the bracelet to suit my mood or outfit.


Friday, April 5, 2013

Beautiful Bangles *TUTORIAL*


What you'll need:
  • Plastic cold drink bottle - cylindrical shape
  • Sharp scissors to cut through the plastic
  • Double sided scrapbooking tape
  • A needle and thread
  • Thin batting (wadding)
  • Fabric - preferably something that doesn't fray too much
  • Scissors for cutting the fabric and batting
  • Some sequence and beads for decoration 

Here's what you do:

1. Remove the sticker/wrapper from the plastic bottle and give the bottle a wash.

2. Decide how broad you want your bangle to be. The batting is going to add some thickness so remember to take this into account.

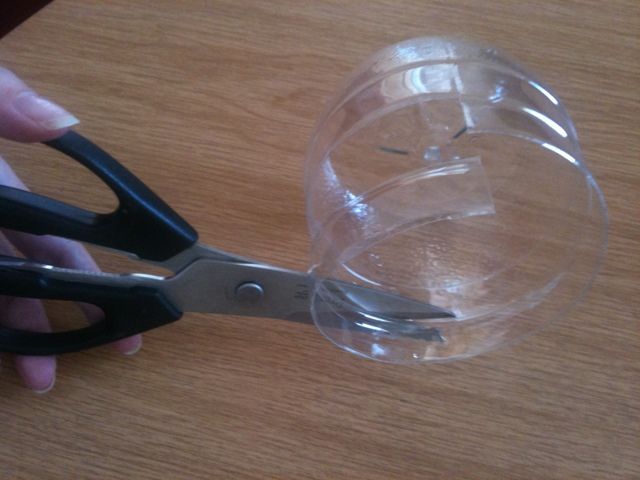
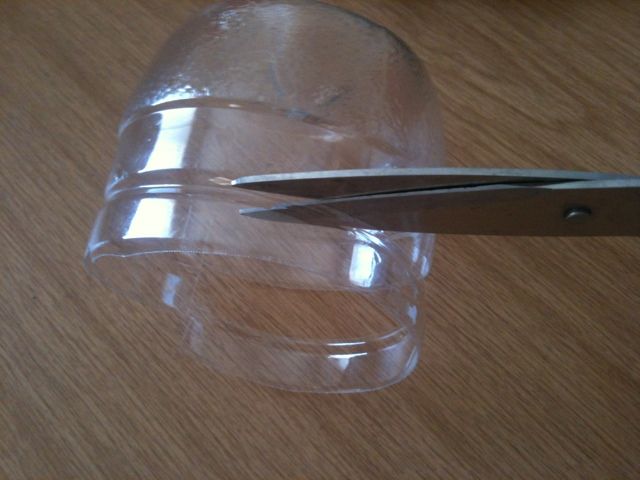
3. Next you are going to cut your bangle.

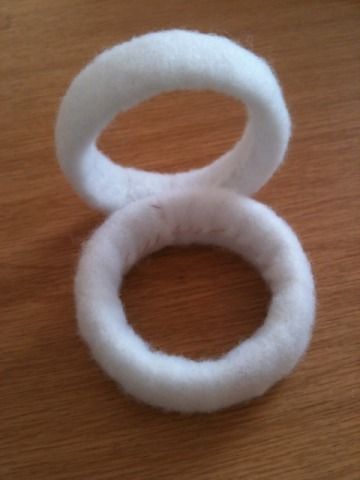
    It's easier cutting the bottle from the inside - like this:


    As opposed to cutting it from the outside:


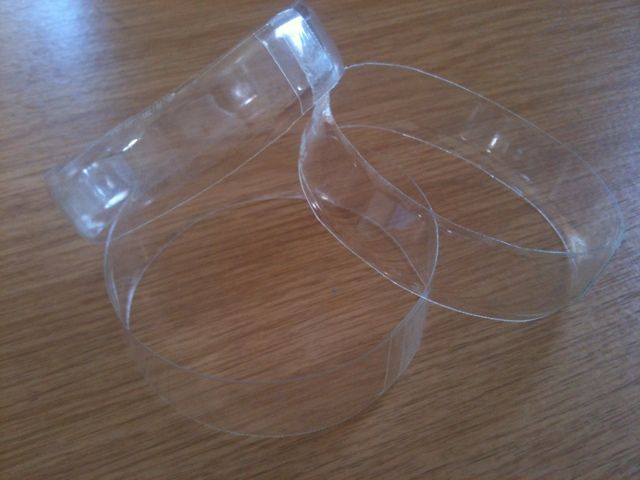
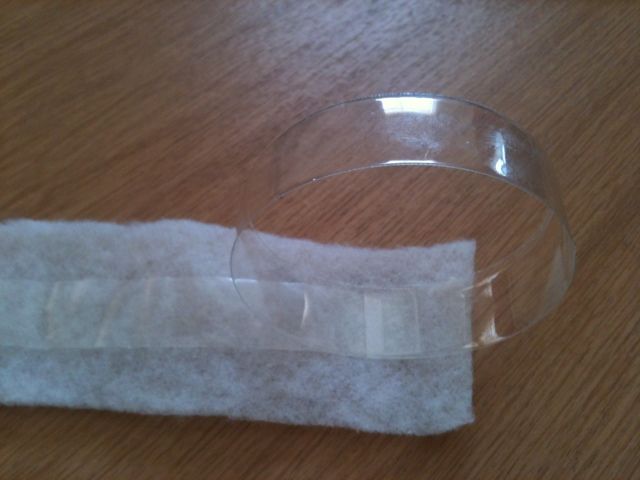
4. You now have a strip of plastic which is going to form the base of your bangle. Measure it around your wrist making sure that it can fit over your hand. Make it slightly looser as the batting layer is going to slightly restrict the size and leave a slight overlap. Using a little piece of double sided tape - stick the edges together into a bangle shape.


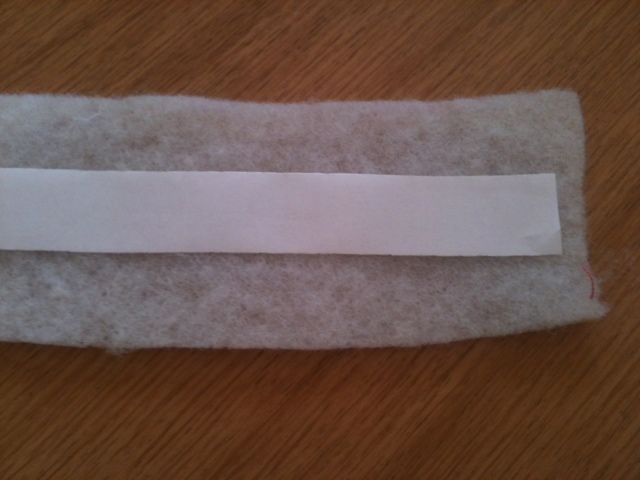
5. Next cut your batting. You need to cut it double the width of the plastic strip and long enough to fit around the bangle completely. Run a strip of double sided tape  right down the centre.


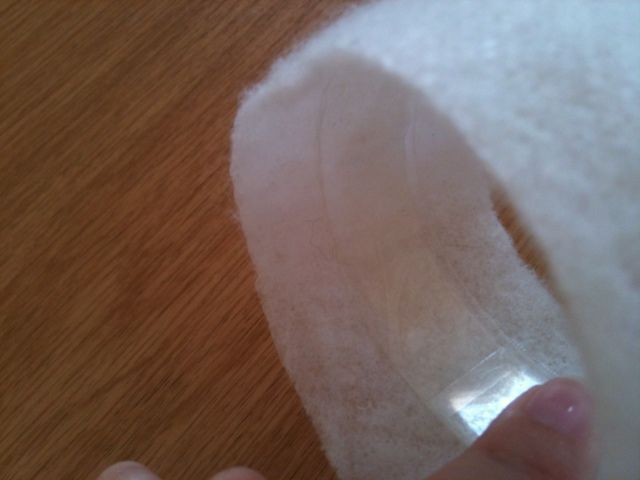
6. Remove the backing paper and stick the batting around the bangle.


It should now look like this:


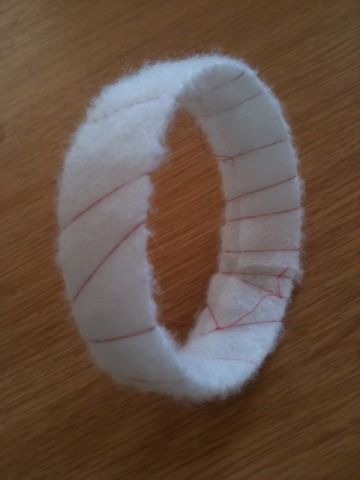
7. Now you need to wind some cotton thread around the bangle to secure the batting in place.


8. Add another layer of batting and repeat step 7.

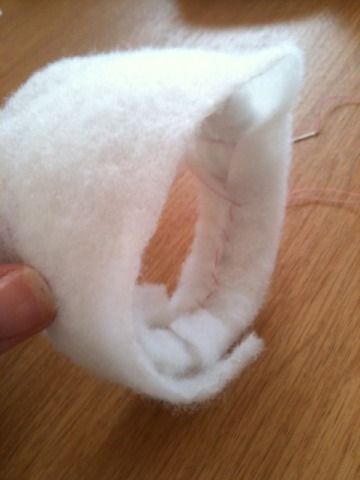
9. We are going to add one more layer of batting to smooth everything out. This time we are going to sew the batting together instead of winding cotton thread around it.


It should now look like this:


10. Now we are going to add some colour!

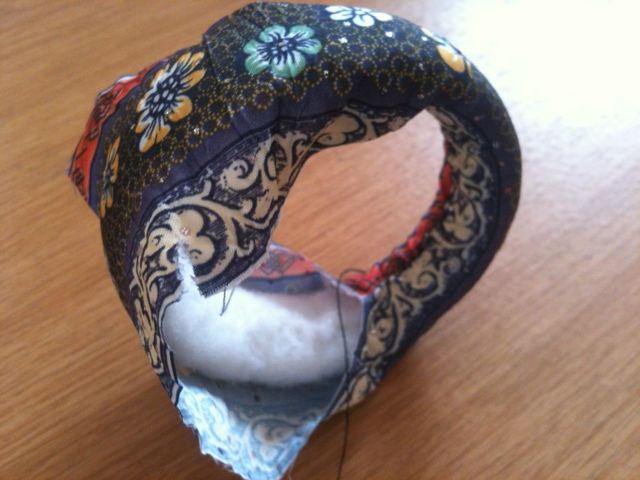
Cut a strip of fabric big enough to cover your bangle - remembering to include a slight overlap. Wrap the fabric around your bangle, and stitch the short edges together (seam) using invisible ladder stitch.


11. Now for the most difficult part. You need to secure the fabric to the bangle using overhand stitch. Try and stitch as neatly as you can.


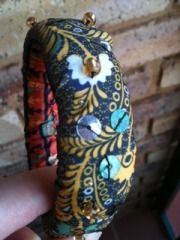
12. You're almost done! Embellish your bangle by sewing some beads and sequence to it.


 Voila!


Guava Fridge Tart


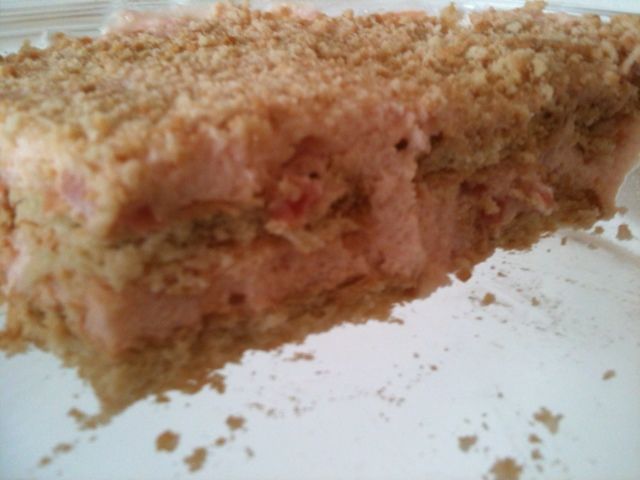
This Guava Fridge Tart is ridiculously easy to make and tastes delicious! It is a light, yet creamy dessert perfect for a hot Summer's day!


Ingredients:


  • Canned Guava halves in syrup (410gr)
  • Ideal Evaporated Milk (380gr) *chilled
  • Strawberry Jelly Powder (80gr) *Cherry or Rasberry Jelly Powder will also work
  • 1-2 Packets Tennis Biscuits


Method:


  1. Separate guavas from syrup. Do not discard the syrup!
  2. Mash or cut guava halves into fine pieces. You might want to remove the pips as they can be quite hard.
  3. Add the jelly powder directly to the guava syrup. Place the mixture in the microwave on high for 30-60 sec., or until the sugar in the jelly powder has dissolved. Allow to cool.
  4. Beat the Ideal Milk until thick and creamy. Add the jelly syrup and guava pieces and mix well. 
  5.  In a glass dish, alternate between layers of Tennis Biscuits and the Ideal Milk mixture (2-3 layers).
  6. Sprinkle a layer of 2-3 crushed Tennis Biscuits over the top of the tart.
  7. Refrigerate until set.
  8. Consume within 2 days.

Friday, March 29, 2013

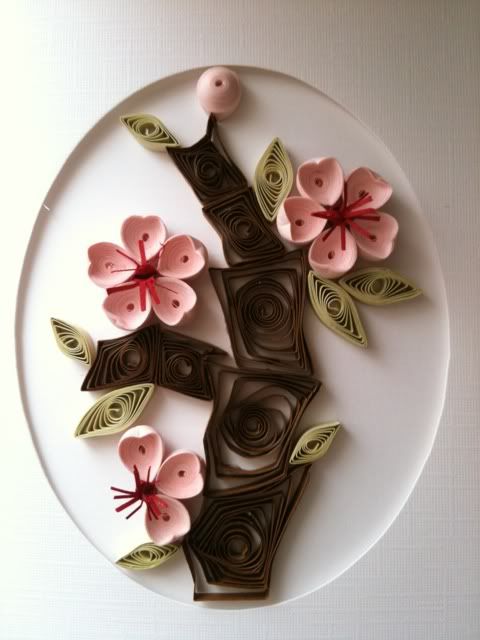
Quilled Cherry Blossoms!

I attempted the "Cherry Blossoms" card in the kit. I thought it would be quite simple to make as the blossoms mainly consisted of rolled up coils. You do however, need to spread glue around the backside of each petal to hold the shape - which I didn't particularly enjoy...
I also found the blossom centres particularly difficult to make with my 'beginner skills'.

So far it's also been my least favourite card to make even though the design is particularly pretty!


Here's my attempt:


Wednesday, March 27, 2013

My first attempt at Quilling

For the past couple of months I have become quite intrigued by the art of quilling.

I was quite fascinated that one could achieve such intricate and ornate looking designs simply by coiling paper strips and squishing them into various shapes. 


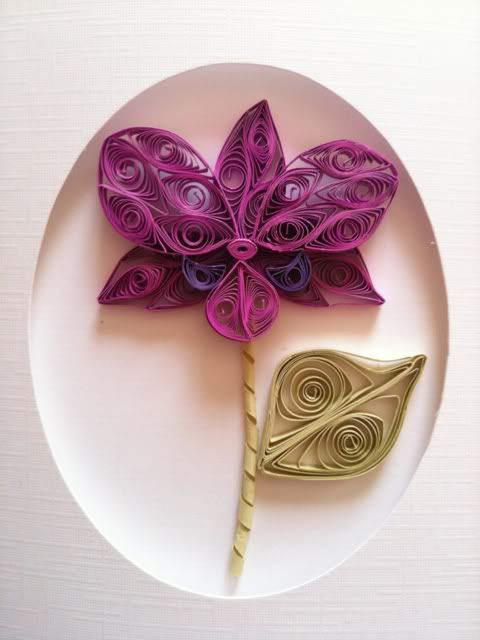
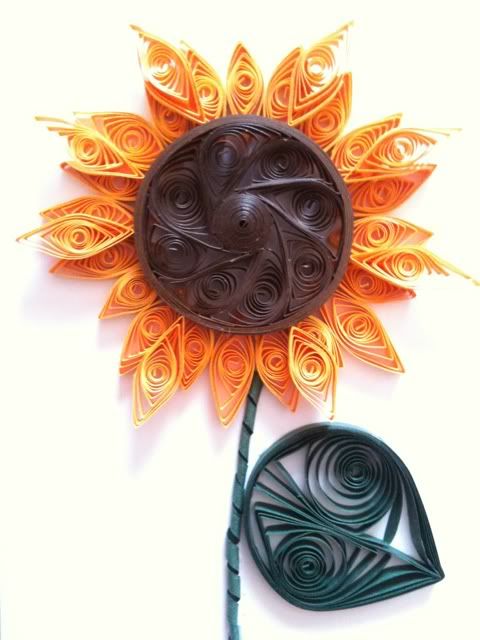
On a recent trip to a scrapbooking shop I spied some quilling kits and decided to take the plunge. I bought a kit from "Quilled Creations" titled "Elegant Floral Cards" (which included quilling paper, quilling instructions, 6 Oval Cutout Cards and 6 envelopes). I also bought a slotted tool and a needle tool. Quilling tools and quilling paper are relatively inexpensive, and so far I have found the craft to be quite rewarding.


I did struggle a bit to group and glue quilled shapes together to form, for example, the orchid's petals. I also found it difficult to make the stems, but I'm sure these things will become easier with practice. Here is the Sunflower and Orchid card that I've made (using the kit):