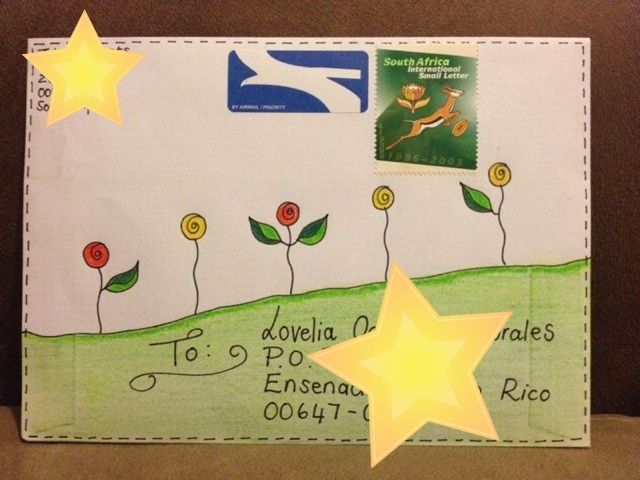
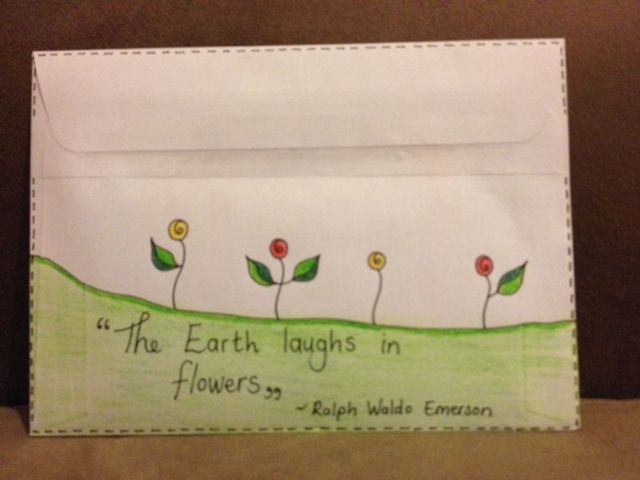
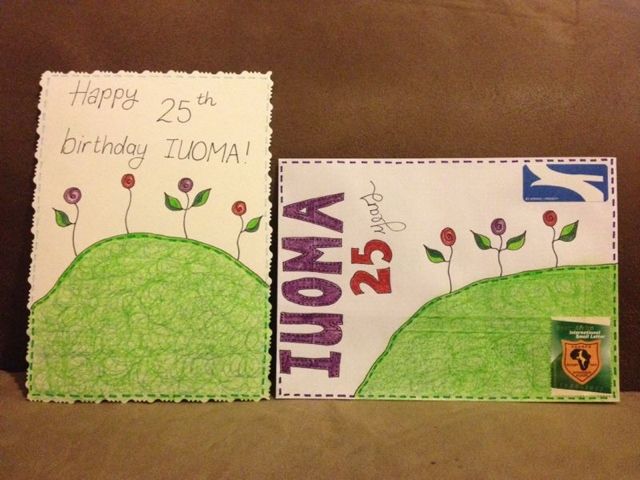
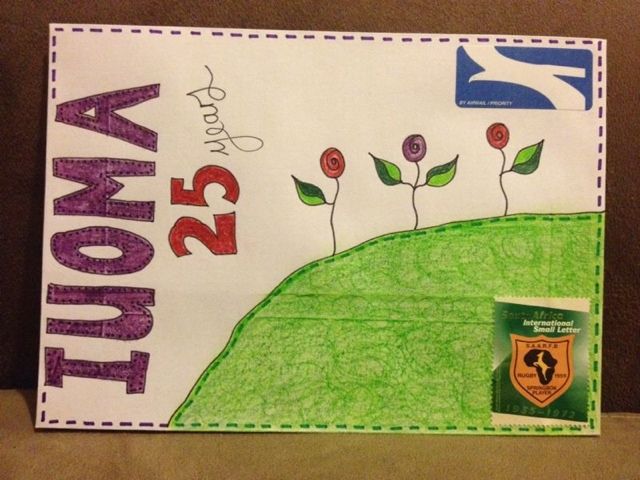
Some mail-art I sent out to IUOMA members during the month of October. I had a lot of fun making these!
Hi everyone and a heartfelt welcome to my Blog! Come and join me on a journey of exploration and discovery into a world of arts and crafts - a world filled with creating, making, tasting and baking.
Tuesday, November 12, 2013
Thursday, November 7, 2013
October Mail-Art!
OMG! I'm soooo excited!! Remember that mail-art I sent Ruud Janssen (the 'father' of mail-art) to commemorate IUOMA's 25th Birthday in August?? W-E-L-L, I got a reply!! How awesome is that?!
The envelope design is by Litsa Spathi

I was amazed by the postage stamp - It's a commemorative stamp to celebrate IUOMA's 25th birthday - how amazing is that??

And a personal touch from Ruud Janssen...
I'm in mail-art heaven!!
The envelope design is by Litsa Spathi

I was amazed by the postage stamp - It's a commemorative stamp to celebrate IUOMA's 25th birthday - how amazing is that??

And a personal touch from Ruud Janssen...
Tuesday, August 13, 2013
More Mail-Art!
I recently created some more mail-art.
Front...
Back...
I also created some mail-art to send to Ruud Janssen (the 'father' of mail-art) to commemorate IUOMA's 25th birthday in August this year!
Front...
Back...
I also created some mail-art to send to Ruud Janssen (the 'father' of mail-art) to commemorate IUOMA's 25th birthday in August this year!
Saturday, August 10, 2013
Origami
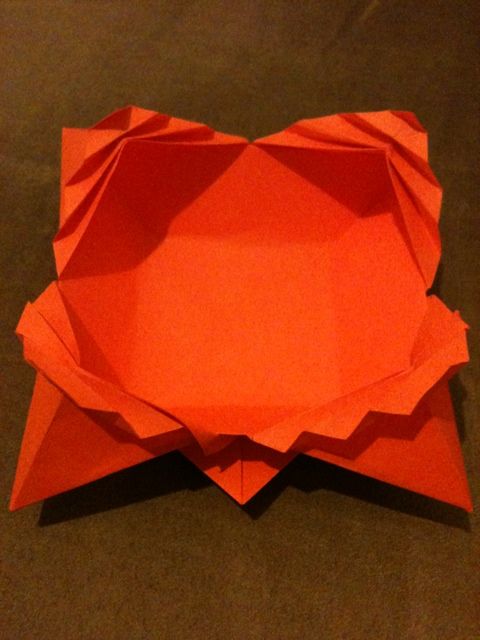
I was challenged to do some Origami by a friend, so I tried my hand at folding 2 boxes. I started off with a pleated box, which turned out looking quite fancy.
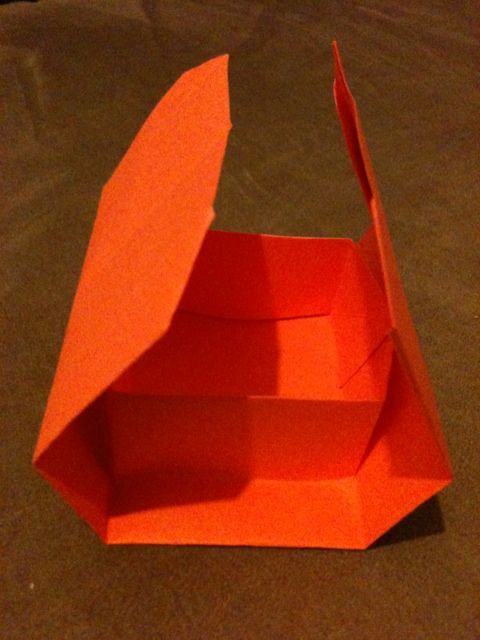
Feeling quite happy with my pleated box, I decided to try my hand at a box-in-a-box...
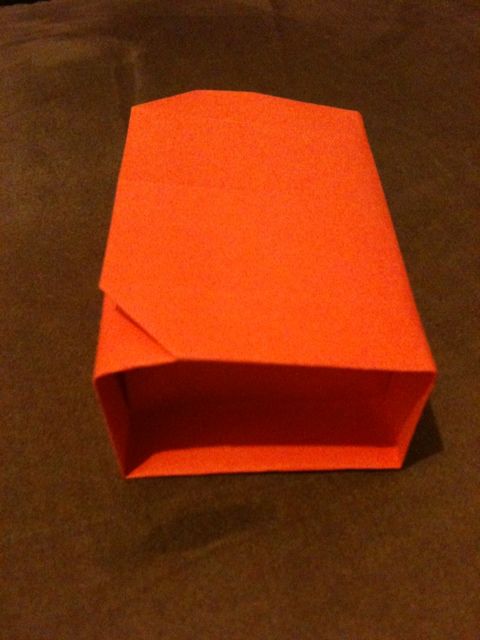
http://www.origami-instructions.com/origami-box-in-a-box.html
I really enjoyed the challenge, and I was quite fascinated how a sheet of paper could turn into something, purely by folding it. I'll definitely be trying out some more Origami, using prettier paper next time!
Feeling quite happy with my pleated box, I decided to try my hand at a box-in-a-box...

http://www.origami-instructions.com/origami-box-in-a-box.html
I really enjoyed the challenge, and I was quite fascinated how a sheet of paper could turn into something, purely by folding it. I'll definitely be trying out some more Origami, using prettier paper next time!
Tuesday, June 25, 2013
Mail-Art!
I recently learnt about Mail-Art in a 'MOOC Introduction to Art Course' that I enrolled for on www.coursera.org. If you're interested in finding out more about the history of mail-art you might want to google: 'Ray Johnson'; 'Ruud Janssen'; Project Braincell'; or head over to the International Union of Mail-Artists website.
I found the mail-art movement to be extremely interesting and have decided to join in the fun!
Here are my first 2 pieces of mail-art that'll be making its way into the postbox tomorrow.
First Envelope
Front View:
Back view:
Second Envelope
Front View:
I found the mail-art movement to be extremely interesting and have decided to join in the fun!
Here are my first 2 pieces of mail-art that'll be making its way into the postbox tomorrow.
First Envelope
Front View:
Back view:
Second Envelope
Front View:
Back View:
Tuesday, May 28, 2013
Inchies!
So, what exactly is an inchie?
An inchie is literally a one-inch square piece of art. As long as it’s an inch squared, you can use any media you like to make it - think paper, fabric, wood, metal… The most popular seems to be a collaged inchie, which consists of a combination of words and images that make up the artwork.Heavy watercolour paper works perfectly for making inchies, but if you like to recycle you could use a cereal packet or other similar packaging, or even a postcard.
You can swap them or collect them. You can use them on your cards, ATCs, scrapbook pages, and altered art. They are also a great way to use up your scraps!
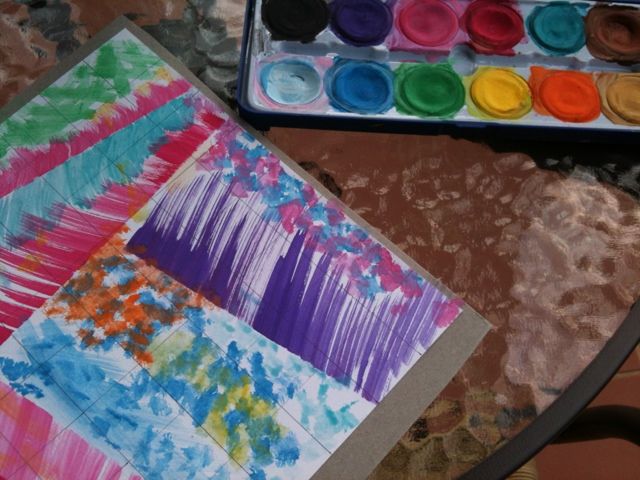
I spent the day making some sets of inchies. I took some lightweight white cardboard and glued it to card from a cereal box - just to give it some sturdiness. (You could also directly paint onto the back of the cereal box if you wanted to). I then marked out one inch squares with a pencil and ruler. I got out some watercolour paints and had fun decorating the card.
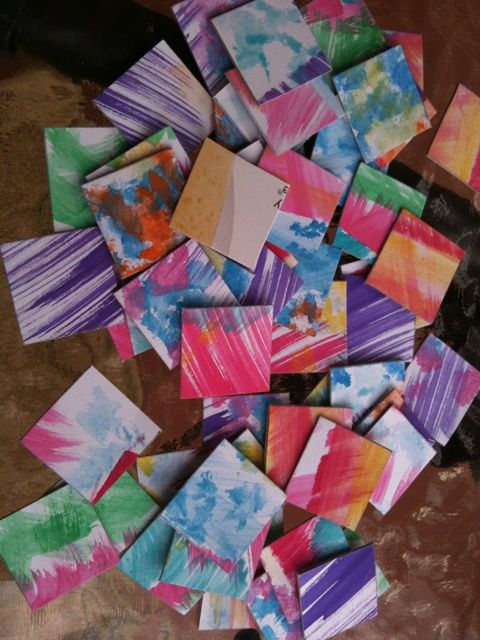
Once the card was dry I cut the board into inchies and ended up with some pretty colourful backgrounds.
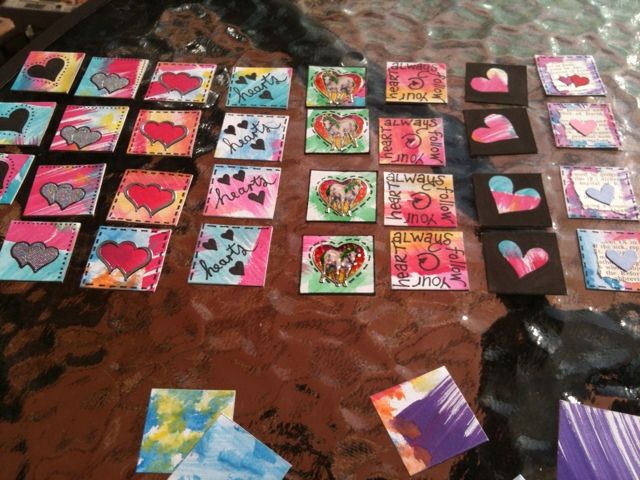
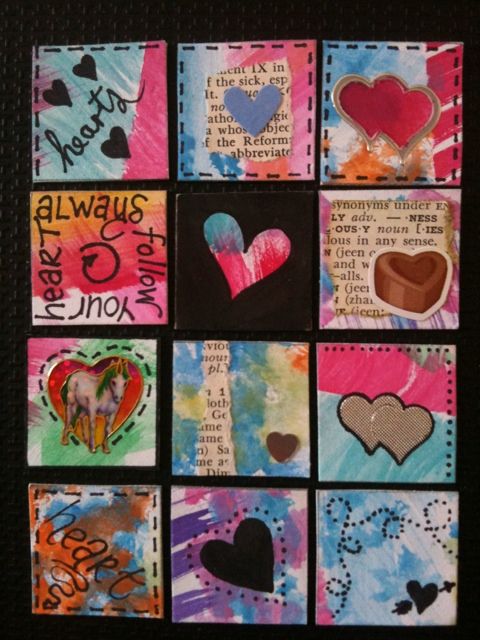 I decided to make some 'themed' inchie sets - The theme I chose was "HEARTS". I decorated the inchies using stickers, a black fine liner, and some koki's.
This is what the set looks like...
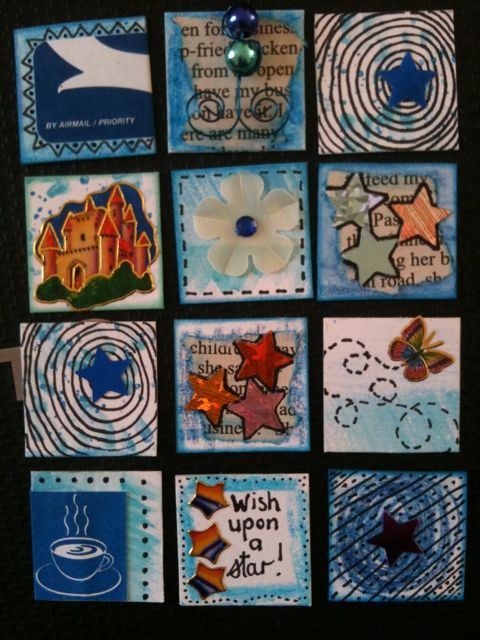
Here's another set I made. The theme was "BLUE".
You can date the inchies, and sign them at the back if you want. The sky is the limit! They really are lots and lots of FUN to make!
Anybody want to swap??
Wednesday, May 1, 2013
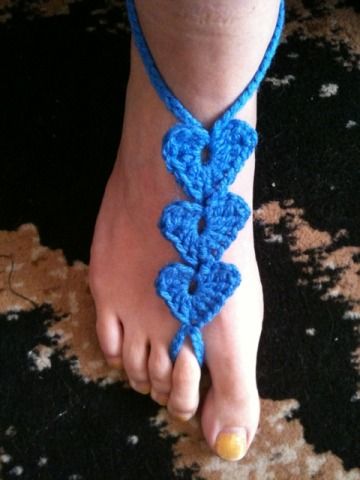
Barefoot Sandals
I'm going on vacation next week, so my friend, Nasreen, suggested that I make some barefoot sandals. I used this awesome free pattern Hearts Barefoot Sandals.
I loved this pattern so much that I made myself 3 pairs!
Now I have some nice Barefoot Sandals to wear on the beach!
Tuesday, April 16, 2013
Butterflies!
Last weekend when we were visiting my sister, I spied some butterflies in the garden. I decided to take some photographs with my i-Phone. A trick I learnt from my husband is to just keep snapping - if you wait for the 'perfect' photo opportunity you'll be disappointed, but the more photos you take the better the chances are that you'll end up with a few GREAT photos.
Friday, April 12, 2013
Tassel Charm Bracelets!
This bracelet was quick and easy to make  I followed this tutorial: http://www.cutoutandkeep.net/projects/tassel-charms-bracelet
I made some small tassels using embroidery cotton and then fixed the tassels to the bracelet with jump rings.


I then came up with the thought that it would be great to mix and match tassels instead of making several different bracelets. I made several more tassels in different colours and attached a lobster clasp to each one, so now I can 'customise' the bracelet to suit my mood or outfit.

 I followed this tutorial: http://www.cutoutandkeep.net/projects/tassel-charms-bracelet
I made some small tassels using embroidery cotton and then fixed the tassels to the bracelet with jump rings.


I then came up with the thought that it would be great to mix and match tassels instead of making several different bracelets. I made several more tassels in different colours and attached a lobster clasp to each one, so now I can 'customise' the bracelet to suit my mood or outfit.

Friday, April 5, 2013
Beautiful Bangles *TUTORIAL*
What you'll need:
- Plastic cold drink bottle - cylindrical shape
- Sharp scissors to cut through the plastic
- Double sided scrapbooking tape
- A needle and thread
- Thin batting (wadding)
- Fabric - preferably something that doesn't fray too much
- Scissors for cutting the fabric and batting
- Some sequence and beads for decoration
Here's what you do:
1. Remove the sticker/wrapper from the plastic bottle and
give the bottle a wash.
2. Decide how broad you want your bangle to be. The batting
is going to add some thickness so remember to take this into account.
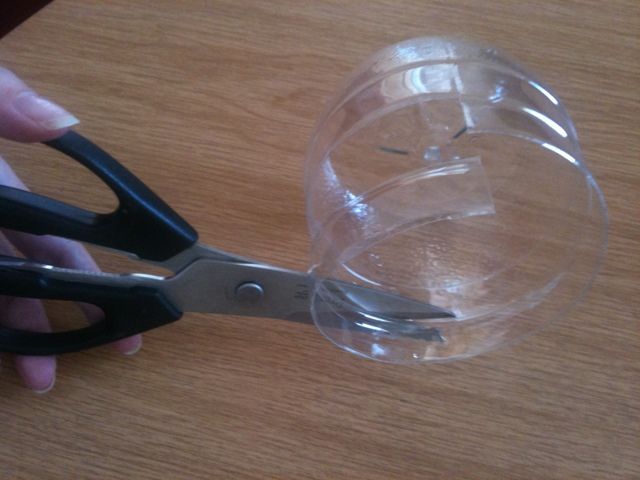
3. Next you are going to cut your bangle.
It's easier
cutting the bottle from the inside - like this:
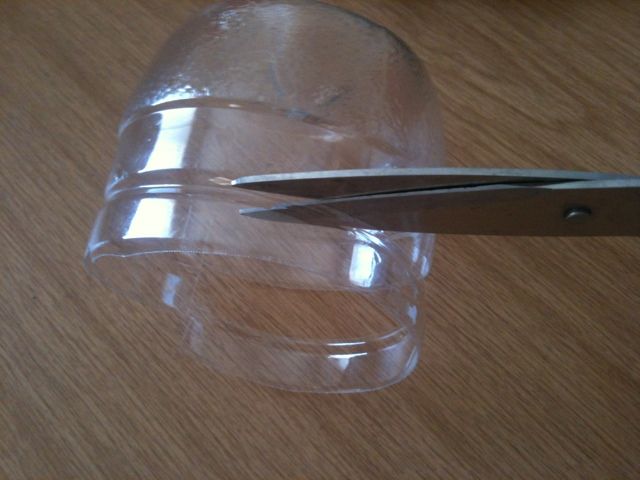
As opposed to
cutting it from the outside:
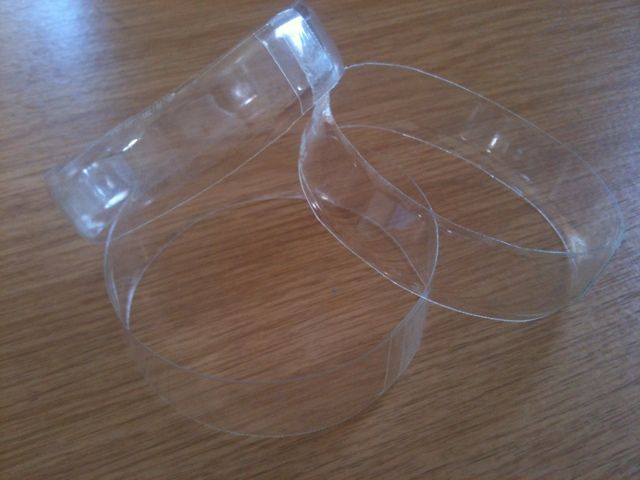
4. You now have a strip of plastic which is going to form
the base of your bangle. Measure it around your wrist making sure that it can
fit over your hand. Make it slightly looser as the batting layer is going to
slightly restrict the size and leave a slight overlap. Using a little piece of
double sided tape - stick the edges together into a bangle shape.
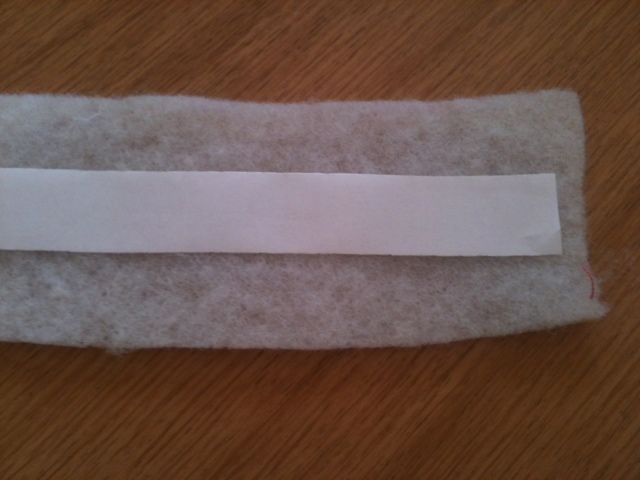
5. Next cut your batting. You need to cut it double the
width of the plastic strip and long enough to fit around the bangle completely.
Run a strip of double sided tape right
down the centre.
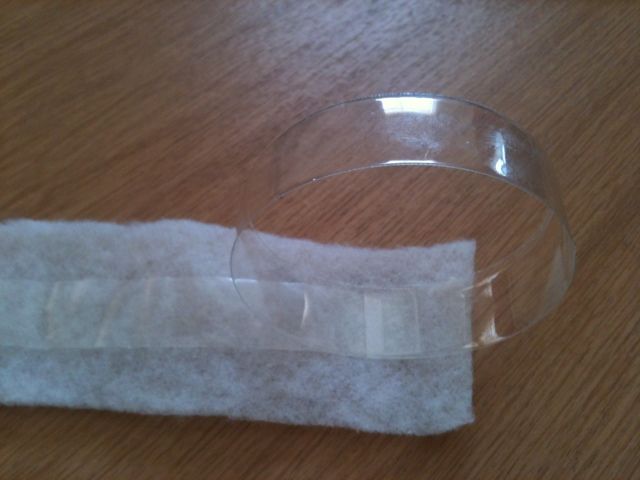
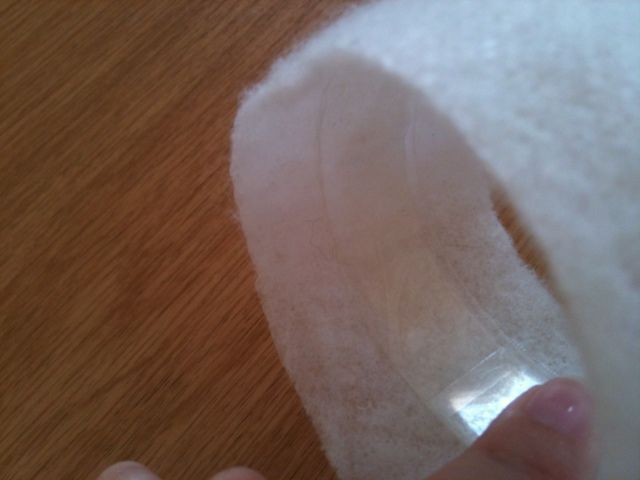
6. Remove the backing paper and stick the batting around the
bangle.
It should now look like this:
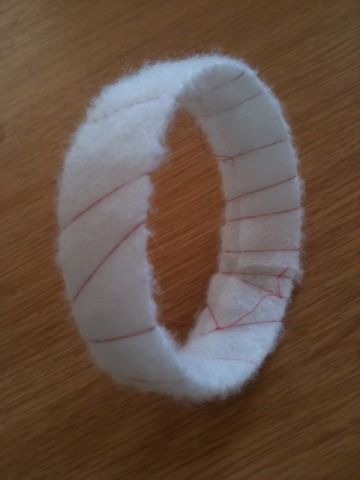
7. Now you need to wind some cotton thread around the
bangle to secure the batting in place.
8. Add another layer of batting and repeat step 7.
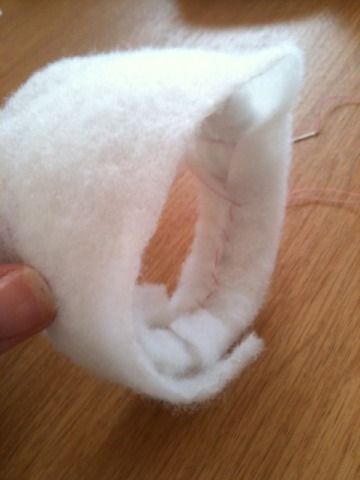
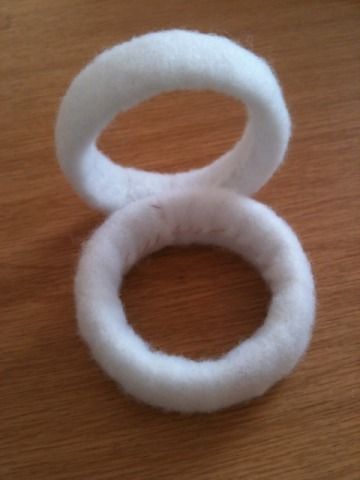
9. We are going to add one more layer of batting to smooth
everything out. This time we are going to sew the batting together instead of
winding cotton thread around it.
It should now look like this:
10. Now we are going to add some colour!
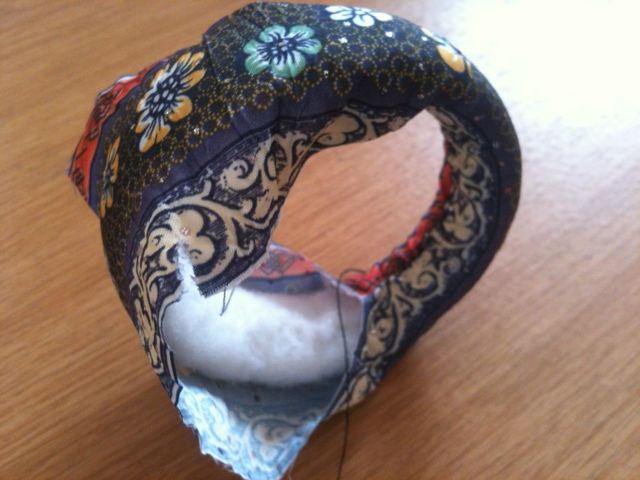
Cut a strip of fabric big enough to cover your bangle -
remembering to include a slight overlap. Wrap the fabric around your bangle,
and stitch the short edges together (seam) using invisible ladder stitch.
11. Now for the most difficult part. You need to secure the
fabric to the bangle using overhand stitch. Try and stitch as neatly as you
can.
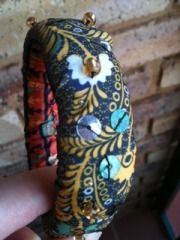
12. You're almost done! Embellish your bangle by sewing some
beads and sequence to it.
Guava Fridge Tart
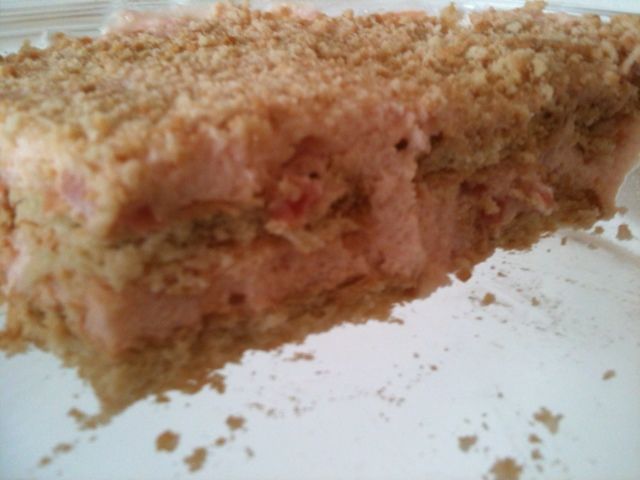
This Guava Fridge Tart is ridiculously easy to make and tastes delicious! It is a light, yet creamy dessert perfect for a hot Summer's day!
Ingredients:
- Canned Guava halves in syrup (410gr)
- Ideal Evaporated Milk (380gr) *chilled
- Strawberry Jelly Powder (80gr) *Cherry or Rasberry Jelly Powder will also work
- 1-2 Packets Tennis Biscuits
Method:
- Separate guavas from syrup. Do not discard the syrup!
- Mash or cut guava halves into fine pieces. You might want to remove the pips as they can be quite hard.
- Add the jelly powder directly to the guava syrup. Place the mixture in the microwave on high for 30-60 sec., or until the sugar in the jelly powder has dissolved. Allow to cool.
- Beat the Ideal Milk until thick and creamy. Add the jelly syrup and guava pieces and mix well.
- In a glass dish, alternate between layers of Tennis Biscuits and the Ideal Milk mixture (2-3 layers).
- Sprinkle a layer of 2-3 crushed Tennis Biscuits over the top of the tart.
- Refrigerate until set.
- Consume within 2 days.
Subscribe to:
Posts (Atom)


